Let’s explore how to choose the right bounce obstacle course rental, prepare your space, and make the most of your setup without sacrificing any of the fun.
Step 1: Choose the Right Size Inflatable
The first step to setting up an obstacle course in a small yard is selecting a unit that fits your available space. Many backyard obstacle course rentals are designed specifically for compact areas, offering exciting challenges in smaller footprints.
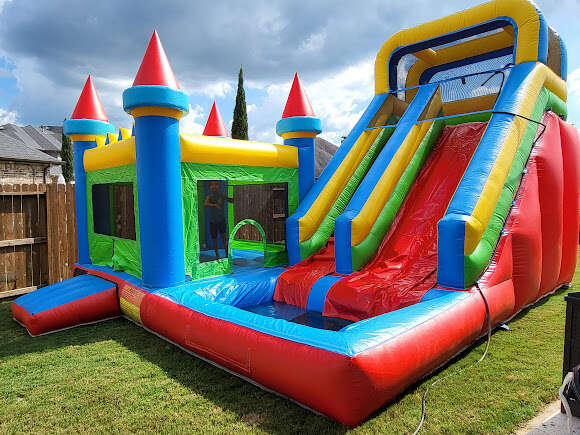
Smaller models, such as 20- to 30-foot versions, work perfectly in most residential settings. These bouncy obstacle courses include mini slides, tunnels, and climbing walls that give kids plenty to explore while staying within your yard’s boundaries. They’re safe, manageable, and easy to monitor during play.
If your space is especially limited, consider an obstacle course jump house or combination unit that offers both bouncing and light obstacle features. These versatile inflatables maximize fun without taking up too much room.
For larger yards, a giant inflatable obstacle course can be used if you have at least 50 feet of open, level space. But even then, make sure there’s clearance around the inflatable for safe access and movement.Step 2: Measure and Prepare Your Space
Before booking your obstacle course blow up rental, measure your yard carefully. You’ll need to know the length, width, and available clearance from fences, walls, trees, or patio furniture. Keep in mind that inflatables also require a few extra feet around the edges for stakes and blower access.
Here’s what to check:
- Flat Surface: The area should be level to ensure the inflatable remains stable.
- Ground Type: Grass works best, but concrete or pavement can also be suitable with proper anchoring.
- Ceiling Clearance: If you’re setting up under a patio cover or in a partially shaded area, make sure there’s enough height for the inflatable’s tallest section.
- Power Access: Most inflatables use a standard electrical outlet to power the blower. If the outlet is far away, an extension cord can bridge the gap safely.
Clearing your yard beforehand—removing toys, furniture, and debris—ensures an easy and efficient setup.
Step 3: Optimize the Layout
When space is limited, layout planning becomes crucial. Think about how your guests will move around the inflatable and where parents or supervisors will stand.
Position the blow up obstacle course so the entrance and exit are easily accessible and visible. Avoid placing the inflatable too close to fences or walls, and keep a few feet of open space on each side for airflow and safety.
If your yard is narrow, look for obstacle courses designed in a straight-line format. These run lengthwise instead of widthwise and are perfect for smaller backyards. Compact kids obstacle course rentals often come in single-lane designs, allowing you to maximize fun even in tighter spaces.
You can also complement your setup with small lawn games or bubble zones nearby—activities that don’t take up much room but add variety to the party.

Step 4: Safety First
Safety should always be the top priority when setting up any obstacle course bounce house or obstacle course jump house. Professional rental companies typically handle setup and anchoring, ensuring the inflatable is properly secured before guests start playing.
Here are some key safety reminders:
- Always supervise kids while the inflatable is in use.
- Limit the number of participants according to the manufacturer’s guidelines.
- Keep food, drinks, and sharp objects away from the inflatable.
- Make sure the blower runs continuously during use to maintain proper inflation.
Step 5: Make It Interactive
A small yard doesn’t have to mean small excitement. You can enhance your setup by organizing mini challenges and timed races. Kids love competing to see who can crawl, climb, and slide the fastest through the inflatable obstacle course.
You can even turn it into a backyard competition with fun categories like “Fastest Climber” or “Best Jumper.” These friendly games add energy to the event and make it even more memorable for guests.
The best part? Kids And Backyard Obstacle Course Rentals In Sunnyvale are designed to keep children active while encouraging teamwork and physical activity. You can learn more about your options by visiting Kids And Backyard Obstacle Course Rentals In Sunnyvale for examples of inflatables that fit perfectly in residential spaces.
Step 6: Learn From the Experts
If you’re unsure which course size or layout will work best in your yard, check out the Guide To Inflatable Obstacle Course Rentals In Sunnyvale, CA. This helpful guide explains everything you need to know about choosing the right inflatable, measuring your space, and preparing your yard for setup.
It also covers important topics like safety requirements, blower power, and age-appropriate recommendations for different styles of obstacle course blow up rentals. By following expert advice, you can host a stress-free and enjoyable event that everyone will remember.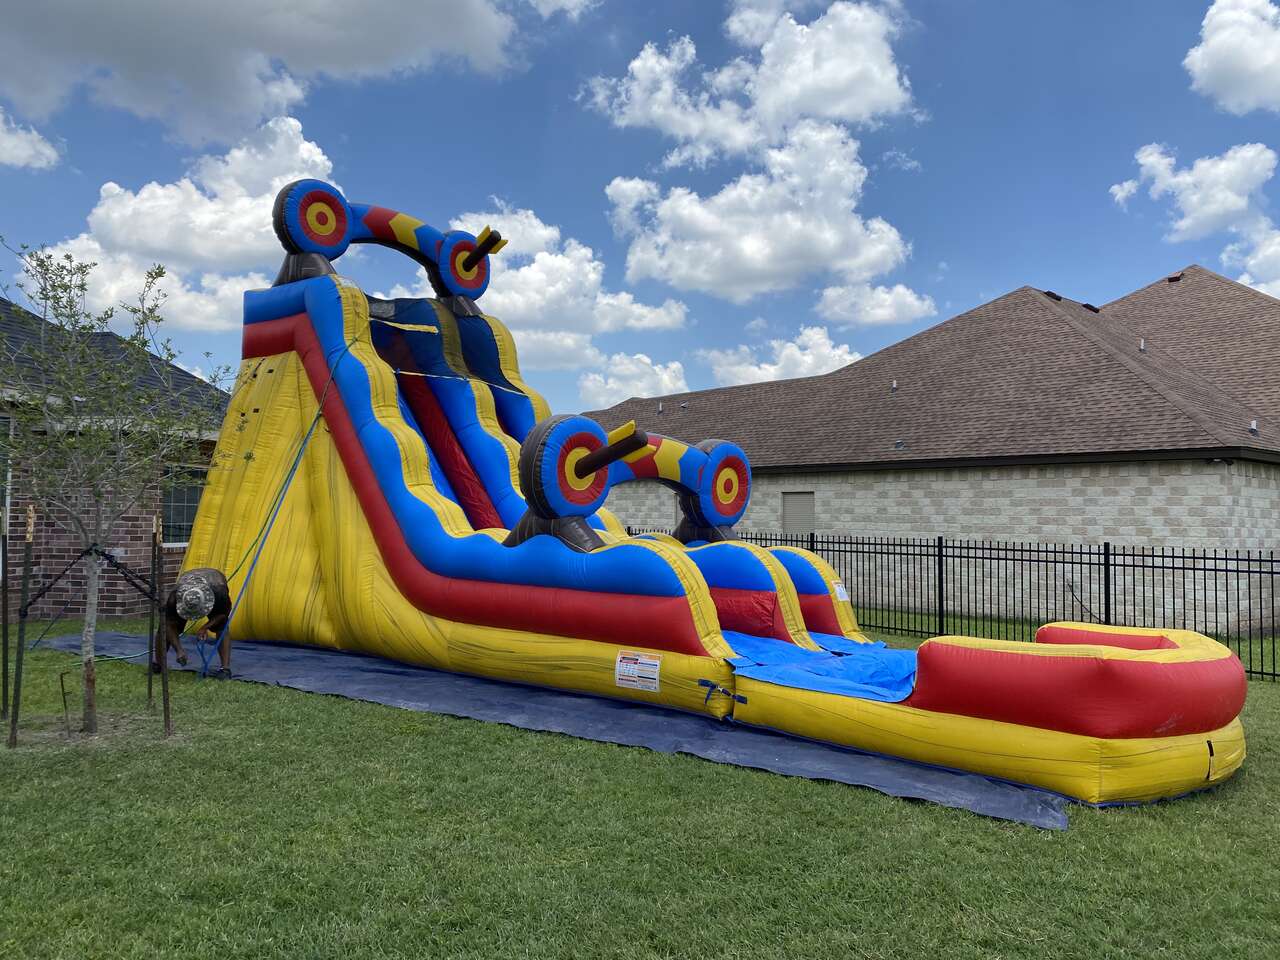
Step 7: Leave the Setup to the Pros
Once the inflatable is set up, it’s time to relax and watch the fun unfold. Whether it’s a bouncy obstacle course for kids or a giant inflatable obstacle course for a mixed-age crowd, your small yard can quickly transform into the ultimate party destination.
Make Your Small Yard Party Big on Fun
With smart planning, even the smallest backyard can host a big celebration. Choosing the right obstacle course blow up rental ensures everyone—from toddlers to teens—has an unforgettable time.
To find the perfect fit for your space, contact Jumper House Party Rental. Their team can help you select the best backyard obstacle course rental and handle setup from start to finish.
Call 650-740-3555 today to reserve your inflatable and make your Sunnyvale party one to remember!